How to Edit or Remove GPS Map Camera Stamps from Photos
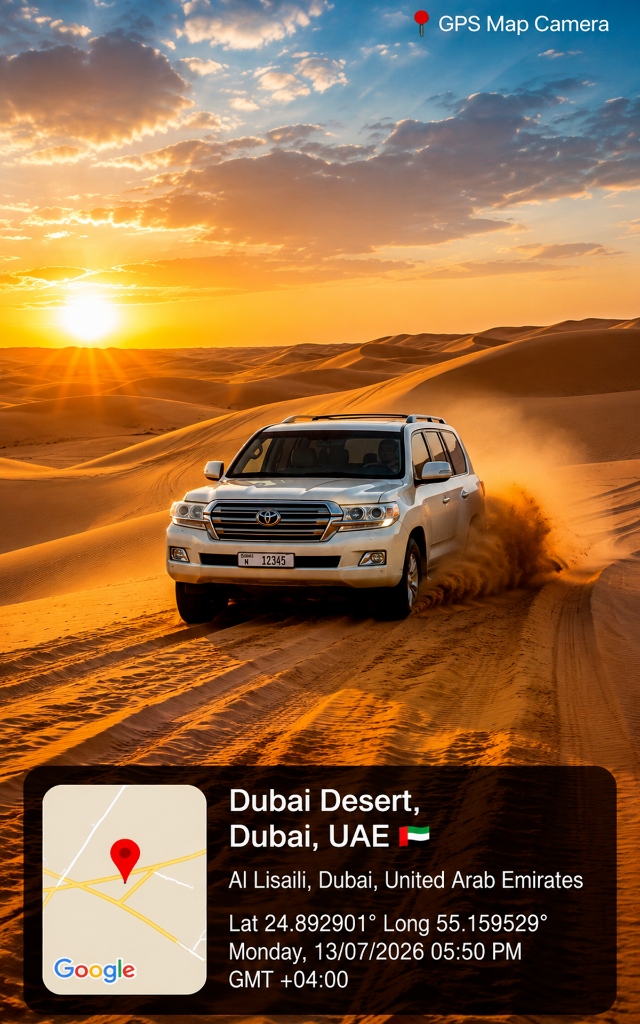
Many users who capture photos using geotagging camera apps often ask: how to edit GPS map camera photos or how to remove GPS map camera from photo outputs when they need a clean, unwatermarked original copy for personal albums or client presentations.
In this article, we explain how image stamp burning works and the best official methods to manage, edit, or remove stamp overlays responsibly.
Method 1: Enabling Original Unstamped Backup (Best Method)
The safest way to get photos without a GPS stamp is by configuring the app to save a dual copy before capturing:
- Open GPS Map Camera.
- Go to Settings $\rightarrow$ Save Original Photo.
- Toggle "Save Unstamped Copy" to
ON.
When this feature is enabled, every time you tap the camera shutter button, the app saves two files to your gallery: one clean high-res original photograph and one stamped GPS stamp photo with verified location metadata.
Method 2: How to Edit GPS Map Camera Photos Before Capture
If you wish to edit the address, coordinates, or notes displayed on the stamp overlay before taking the photograph:
- Tap on the Address / Lat-Long tab on the app dashboard.
- Select Manual Edit Mode to customize the displayed project title, landmark name, or engineering site code.
- Select your preferred map style (Satellite vs Normal Map) before pressing "OPEN CAMERA".
Method 3: Crop or Masking Techniques
If you already have a stamped photo and need to remove the watermark overlay for a presentation:
- Cropping: Because GPS stamps are placed cleanly at the bottom corner of the image frame, using any built-in phone photo editor to crop the bottom 10% of the image will cleanly remove the stamp box while preserving the main photo aspect ratio.